Monsters! Practicing Body Parts & Reviewing Past Concepts
I use this activity with 10th graders and I’m always surprised how into it they get! I keep waiting for them to be “too cool” for it but it hasn’t happened yet *knocks on wood*.
Benefits
-VERY LOW PREP (my favorite!)
-Practice body parts
-Review colors, numbers, adjectives
-Review adjective matching and word order
-Practice listening
-Students write in TL
-Students speak and listen to TL with one another
-Incorporates drawing (which I love!)
-Adaptable low-tech to high-tech (I work in 1:1 and love the low tech version!)
Set Up
1) Draw a monster and color it (or use a student’s monster from past times you’ve done this activity)
2) Have paper and colored pencils/crayons for students
Optional: If you want to go high tech, record a video/audio of you describing the monster. FlipGrid would work great for this. More on high tech options in a bit.
Procedure
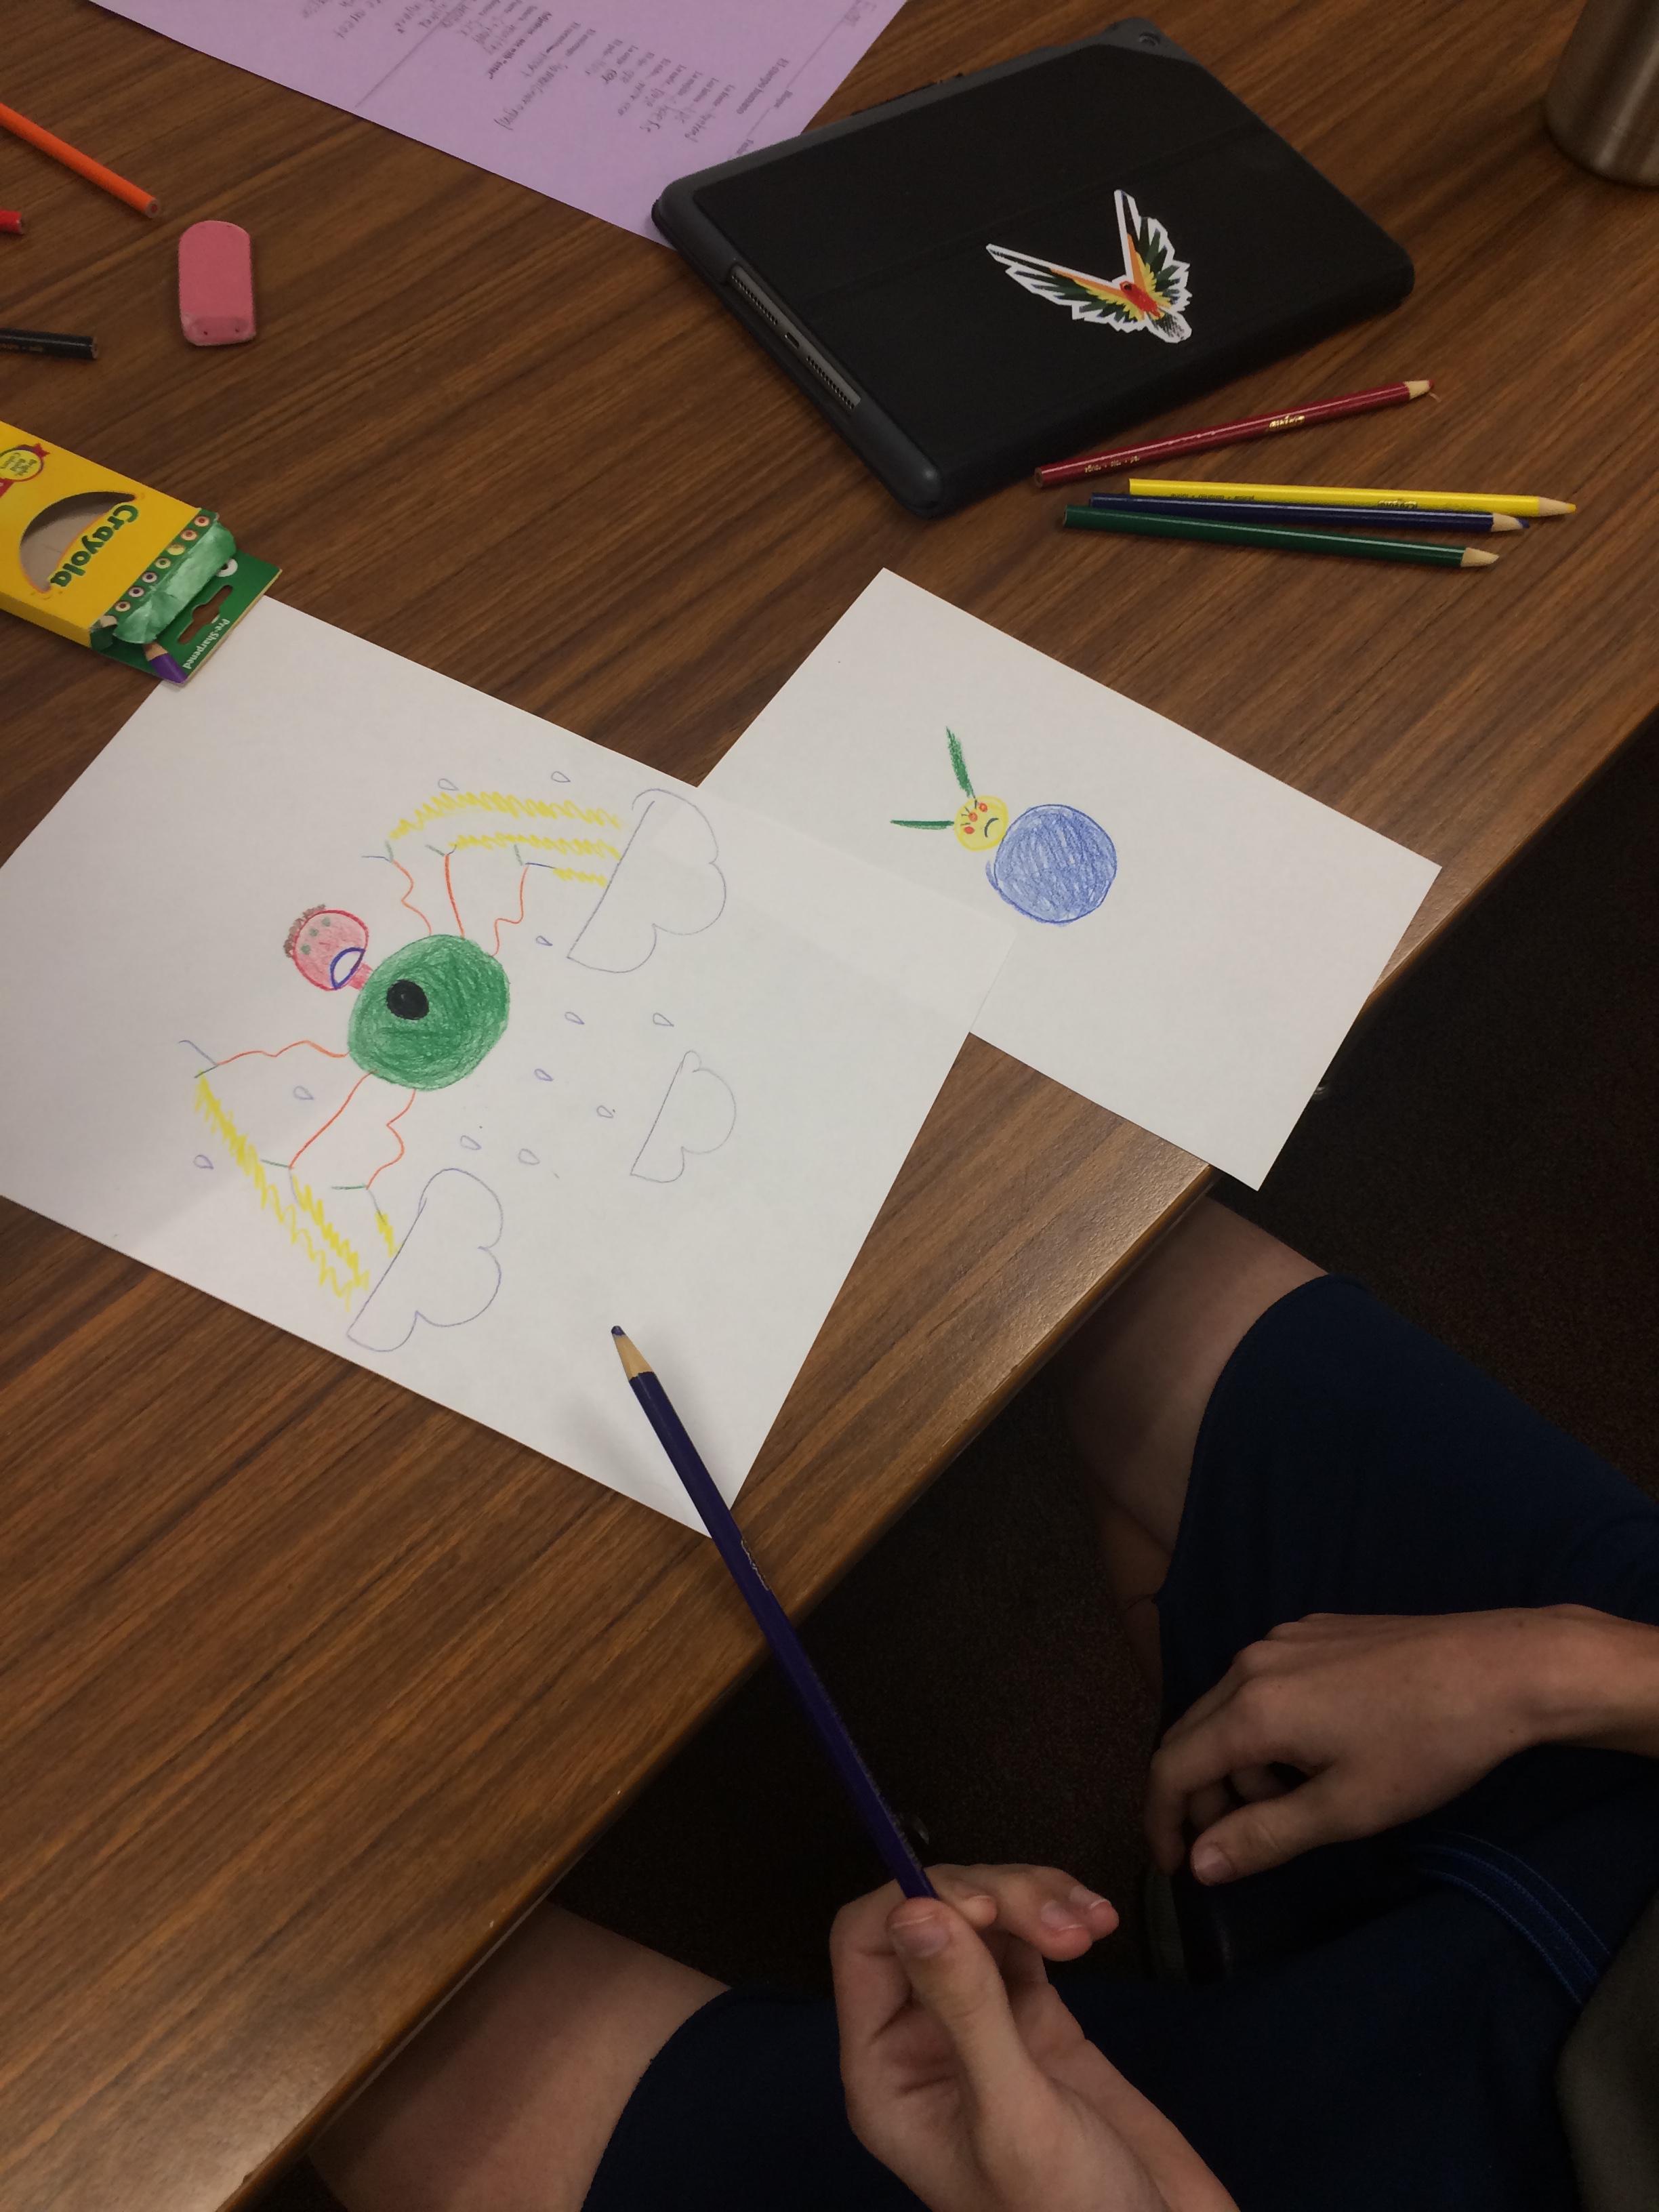
Part 1: Listen and Draw
-Give students a sheet of paper (I like plain white printer paper) and colored pencils.
-Describe your monster aloud in TL. Students draw as you read.
-Tiene un estómago gordo y verde.
-Tiene cuatro brazos largos y azules.
-Las brazos no tienen manos pero cada brazo tiene tres dedos.
-Students always have a good time comparing what they are drawing with the person next to them. Once you’ve described your monster, show them the original drawing and see how close they are.
Part 2: Students Draw Their Monsters
-Students turn the paper over and draw their own monsters. I like to prep them that they will be describing their monsters in Spanish once drawn.
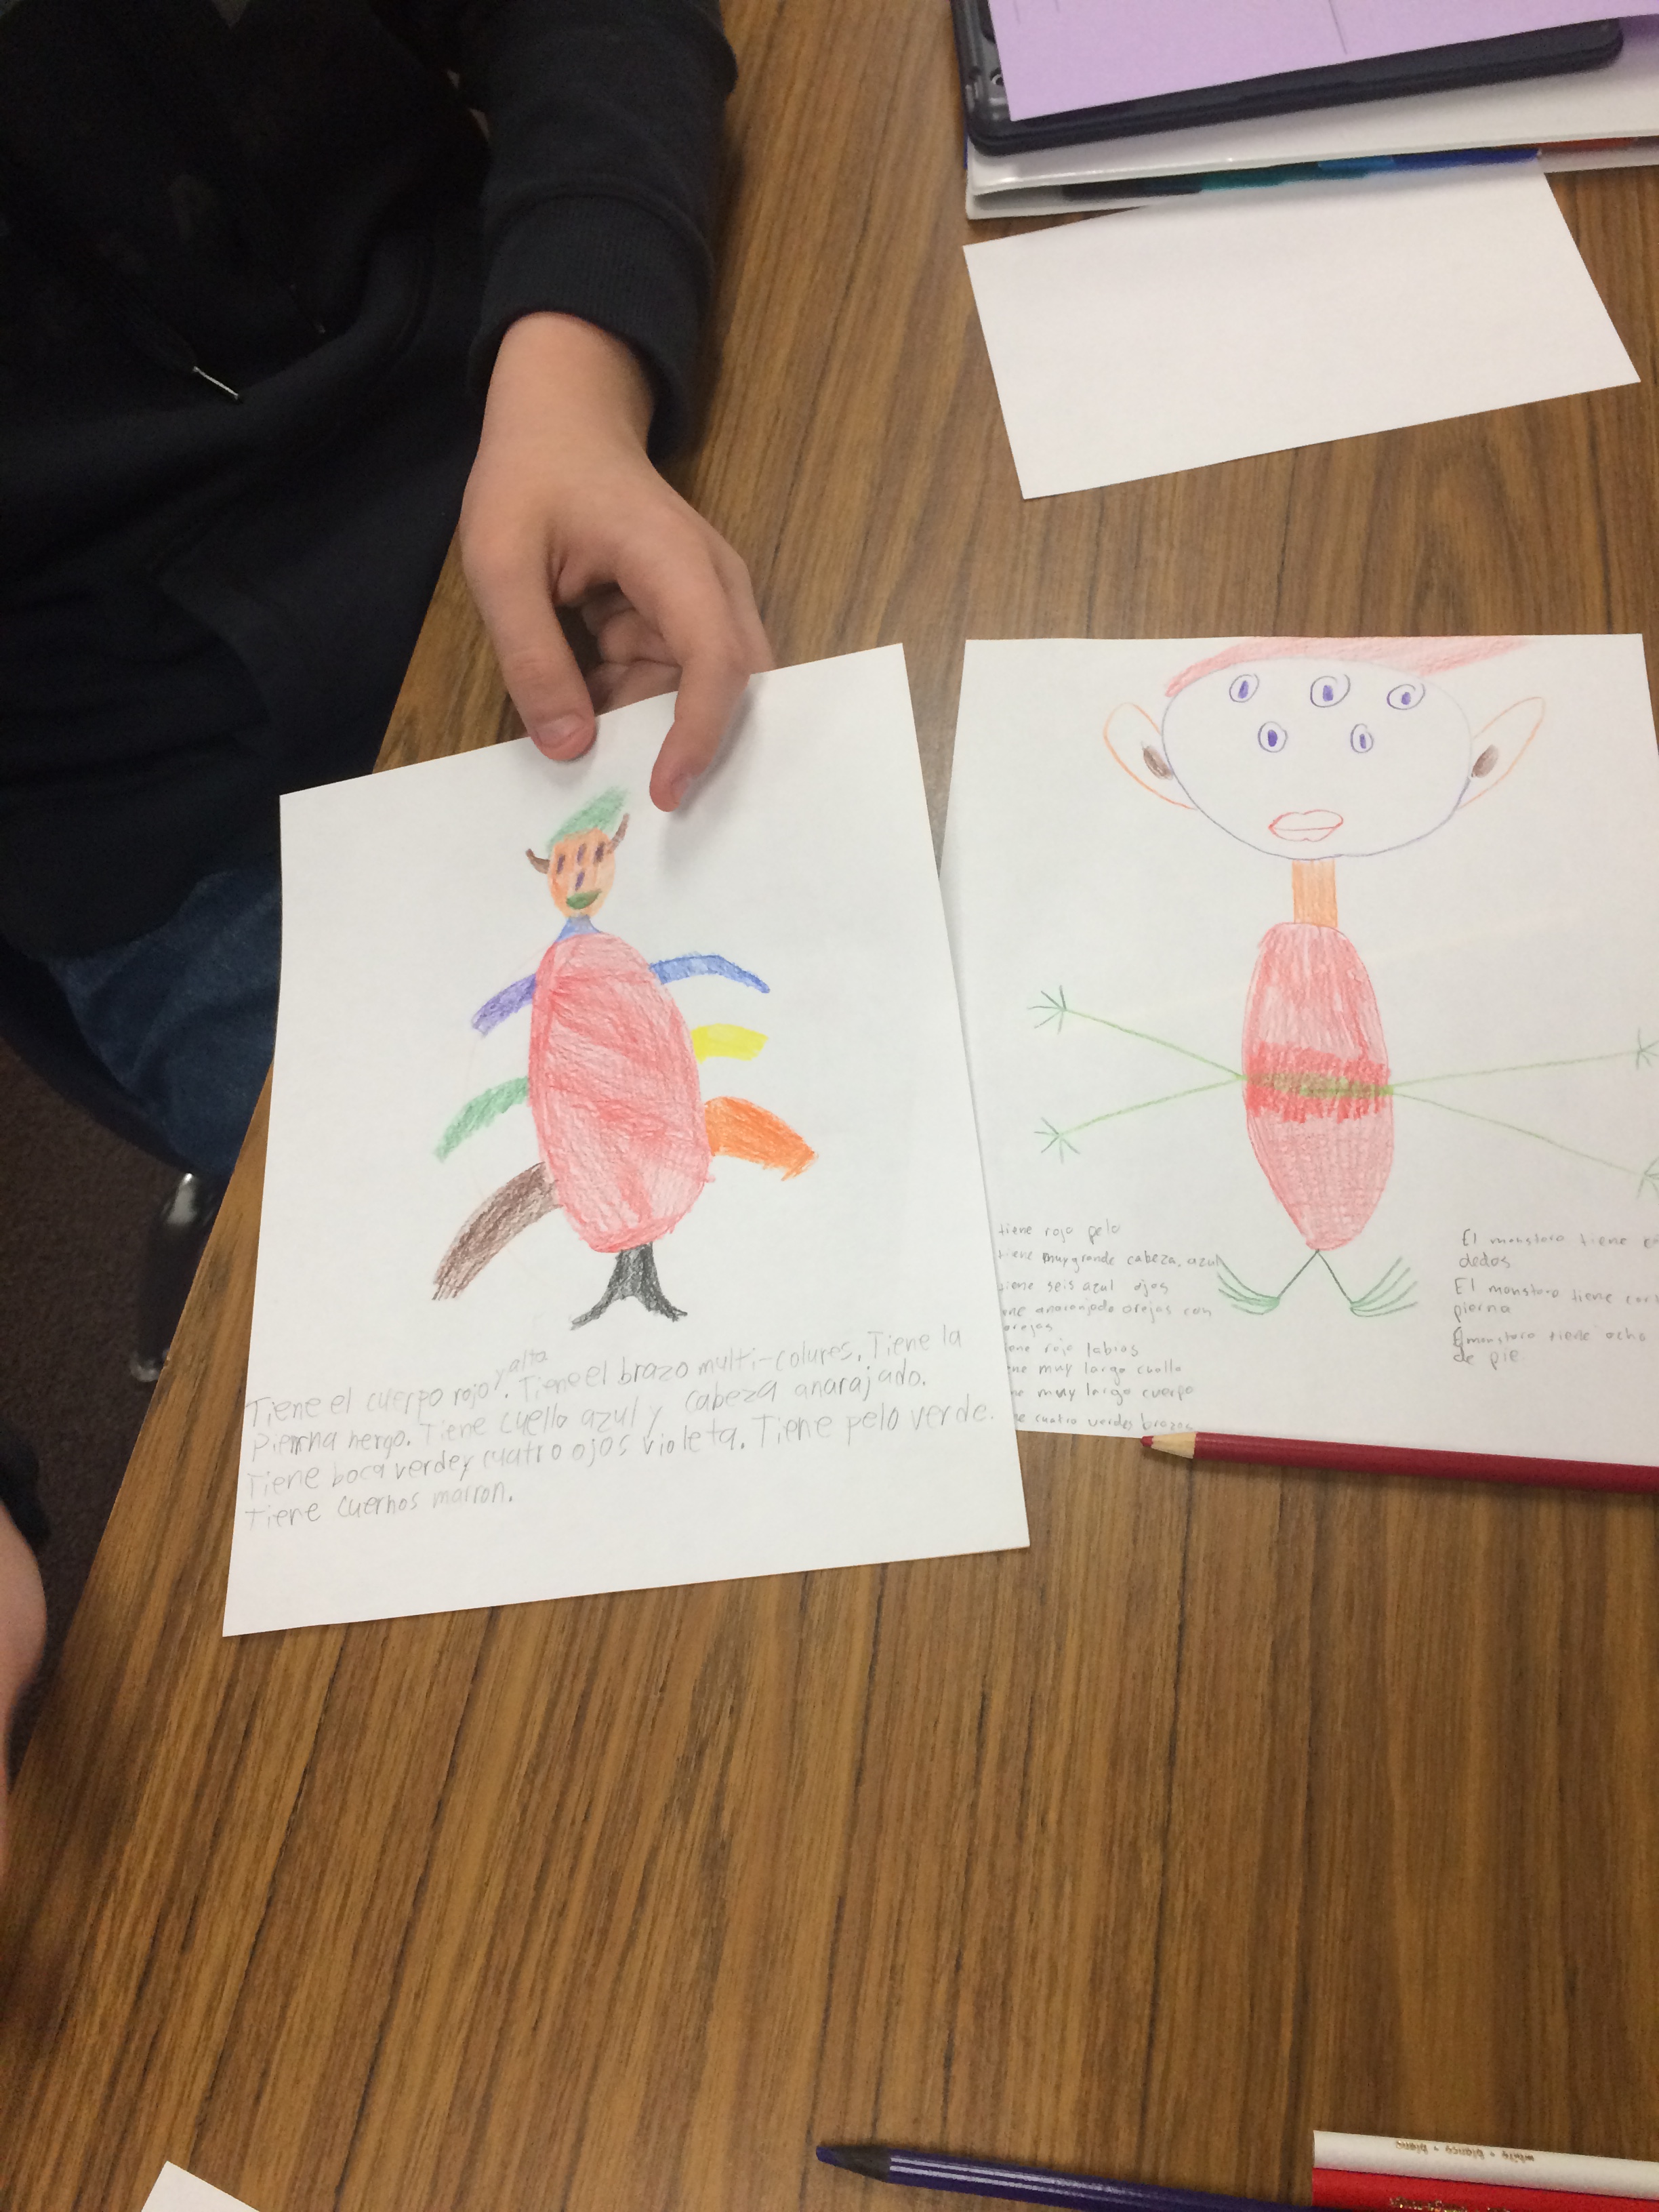
Part 3: Students Write a Description of Their Monsters in TL
This is a great time to review adjective matching and word order as well as tener vs ser when it comes to descriptions. I have students write their description on the same side as they drew their monster. We often get to review past vocab words from our animal unit like wings, tail, etc. Colors, numbers, and adjectives like long/short/big/small get reviewed as well.
Part 4: Students Talk & Listen
I pair students up and give them another sheet of paper. I usually cut printer paper in half and give them a smaller half sheet or use scratch paper. Students keep their monsters a secret and describe them in TL just like you did in step 1 as their partner listens and draws.

Optional: Hang Monsters & Descriptions
I love to hang these up on the walls of my room.
Adaptations
Want to go high tech? Use FlipGrid or something similar to record your description and have students record their descriptions and listen to another person’s video. If you have iPads and can easily draw on them, use that instead of paper to draw.